- Laser Pros International | Laser Printer Parts
- >Blog
- >Understanding HP Cartridge Protection Settings on FutureSmart 3, 4 & 5
Tech Tip - Understanding HP Cartridge Protection Settings on FutureSmart 3 and Later

Author: Ebben Joslin, Technical Support Supervisor
Published on January 8th, 2026
Covers:
– HP FutureSmart 3, 4 and 5 Devices
Description:
In today’s blog, we’ll take a closer look at HP’s Cartridge Protection settings and how enabling them on a FutureSmart 3 (or later) device can impact the way you use your printer supplies.
These features include Cartridge Protection and Cartridge Policy. Both settings are disabled by default but can be enabled through the printer’s control panel or Embedded Web Server (EWS), depending on the model and firmware.
Note: You may need an administrator password to access the menus to disable/enable these features.
Cartridge Protection
Cartridge Protection permanently locks each installed toner cartridge to the specific printer it is installed in. Once a cartridge is protected, it cannot be used in any other device.
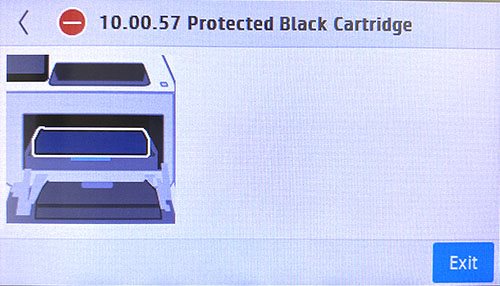
If you attempt to move a protected cartridge to another printer, a message will display on the control panel indicating that the cartridge is locked and it will not print.
Additionally, when Cartridge Protection is turned on, any newly installed or replacement cartridge will automatically have protection data written to it. Once applied, this lock cannot be removed.
To prevent future cartridges from being locked, make sure to disable Cartridge Protection in the Manage Supplies menu on the control panel or via the EWS.
Cartridge Policy
The Cartridge Policy setting restricts the printer to using only genuine HP toner cartridges. When this feature is enabled, any remanufactured, aftermarket or third-party cartridges will be blocked from use.
If a non-HP cartridge is installed, the control panel will display a message indicating that an unauthorized cartridge has been detected and printing will be prevented.
You can disable this setting at any time in the Manage Supplies menu on the control panel or through the EWS.